
To guarantee your game film isn’t useless, place your tripod on stable, level ground where you have a clear view of key areas like sidelines or end zones. Position it at a height that captures the action without cropping important details, and keep it steady to avoid shaky footage. Use multiple angles if possible to cover everything. For more tips on perfect setup, keep going—you’ll learn how to get the best coverage every time.
Key Takeaways
- Place the tripod on level ground near key play areas to ensure stable, unobstructed views of the action.
- Position the camera at or slightly above players’ eye level for natural, engaging footage.
- Use multiple angles—wide, side, and close-up—to capture all critical moments effectively.
- Overlook important zones like sideline and end zone for comprehensive coverage of the game.
- Test and secure your setup beforehand to prevent shaky footage and missing key plays.
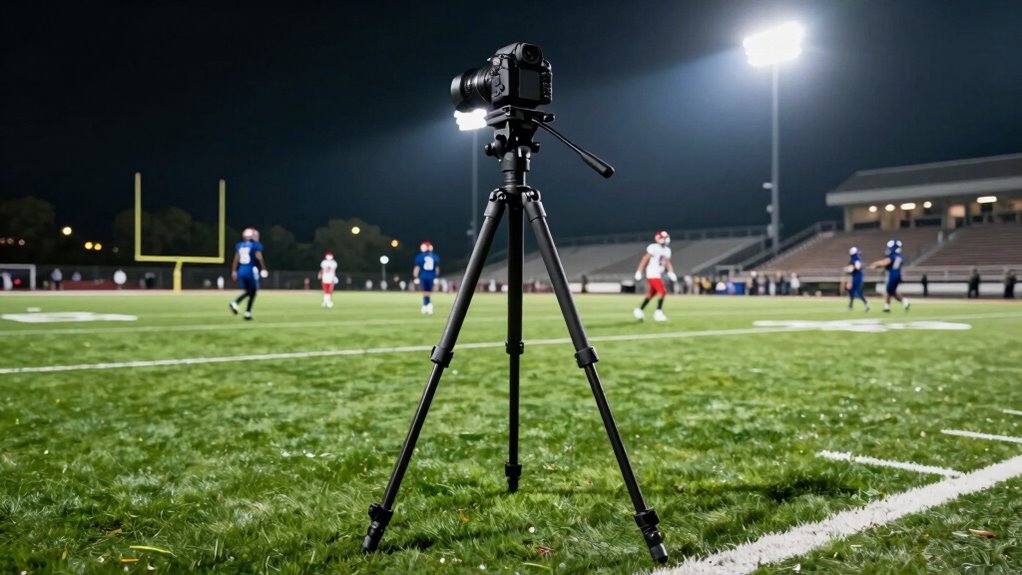
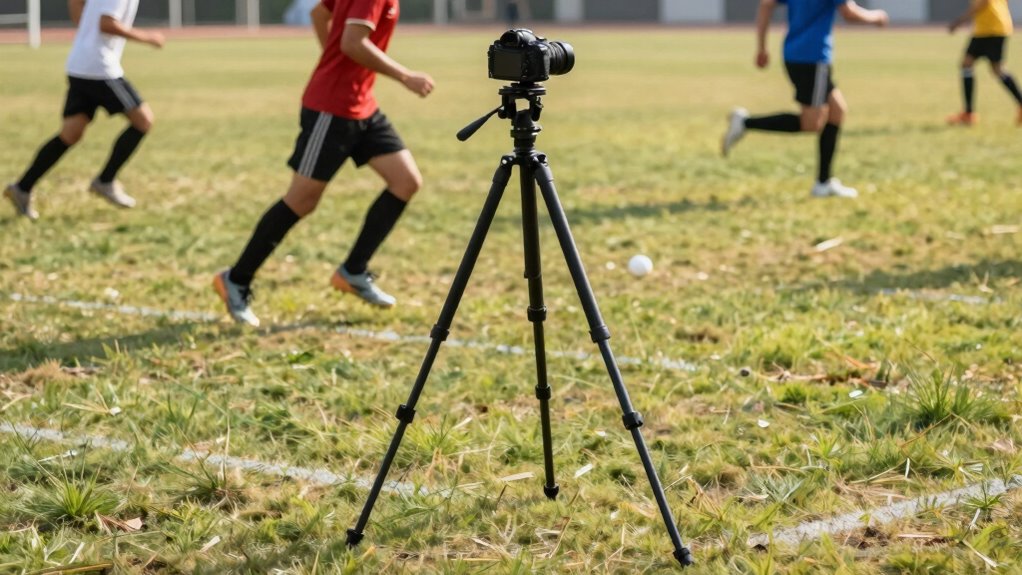
tripod for sports filming
As an affiliate, we earn on qualifying purchases.
As an affiliate, we earn on qualifying purchases.
Why Proper Camera Placement Is Key to Great Game Footage

Proper camera placement is vital because it directly impacts the quality and clarity of your game footage. When you position your camera correctly, you guarantee smooth footage, which relies heavily on camera stabilization. A stable shot prevents shaky images that can distract viewers and obscure important plays. Lens selection also plays an essential role; choosing the right lens allows you to capture clear, detailed footage from your vantage point. Wide-angle lenses can cover more ground, while telephoto lenses zoom in on key moments. Proper placement, combined with good stabilization and appropriate lens choice, helps you record sharp, professional-looking footage that highlights players’ skills and game strategies. Additionally, understanding the contrast ratio of your camera can help you optimize exposure settings for better image quality. Being aware of the camera’s dynamic range can further enhance your footage by capturing a broader spectrum of light and shadow. Proper placement, along with these considerations, ensures your footage remains consistent and reliable, making your game film more engaging and useful for analysis. To improve your overall footage quality, consider also checking the lighting conditions at your filming location to avoid overexposed or underexposed shots. Recognizing camera positioning best practices can significantly elevate the professionalism of your game footage.
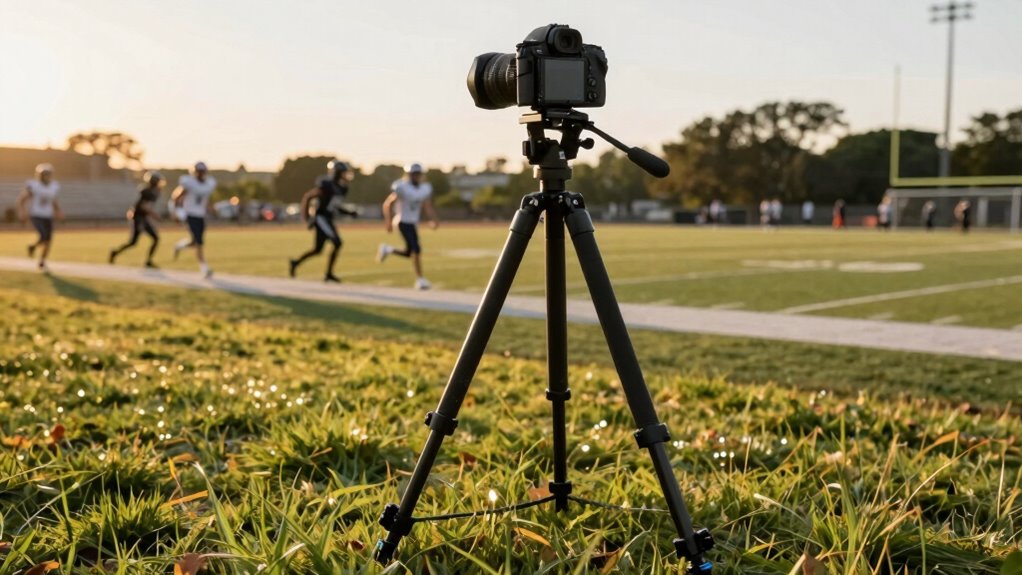
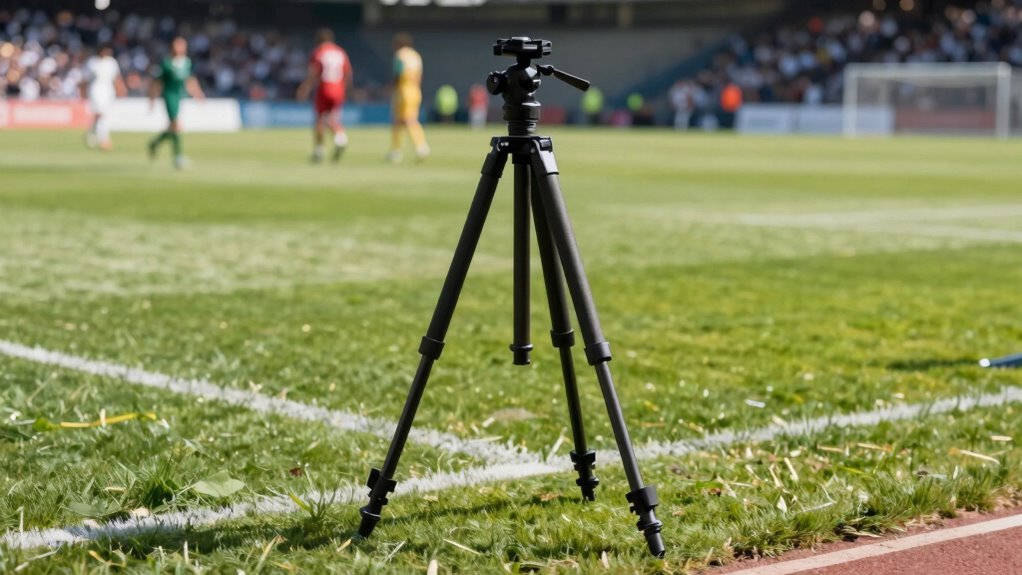
camera tripod for field sports
As an affiliate, we earn on qualifying purchases.
As an affiliate, we earn on qualifying purchases.
Where Are the Best Spots to Set Your Tripod for Field Sports?
To get the best footage, you need to choose spots with ideal field angles that cover the action clearly. Make sure your tripod is on stable ground to prevent shaky shots during critical moments. These factors will help you capture high-quality game footage consistently. Additionally, consider incorporating free floating techniques to minimize interference from surrounding elements and achieve a more professional look.
Optimal Field Angles
Choosing the right field angles is essential for capturing clear, impactful game footage. To do this, position your camera at angles that give a thorough view of the play, such as a sideline or end zone perspective. A good camera angle ensures you capture key moments and player movements. Equally important is tripod stability—set your tripod on firm ground to prevent wobbling or shaking, which can ruin footage. Avoid placing it on uneven surfaces or soft soil that may cause instability. Adjust the tripod height to get a balanced shot that includes the action without cutting off important details. By selecting ideal angles and ensuring tripod stability, you’ll produce footage that’s both professional-looking and useful for analysis. Additionally, understanding battery inverter generator capacity can help you choose reliable power sources for your filming equipment, ensuring uninterrupted recording sessions.
Stable Ground Placement
Setting your tripod on stable ground is essential for steady, professional footage during field sports. A solid ground surface ensures tripod stability, preventing shaky shots that can ruin your game film. Look for flat, firm ground like packed dirt, grass, or gravel—these surfaces minimize wobbling. Avoid soft, uneven, or muddy areas that compromise stability.
| Ground Surface Type | Impact on Tripod Stability |
|---|---|
| Packed Dirt | Very stable, minimal movement |
| Grass | Good, but watch for uneven patches |
| Gravel | Stable, but ensure even placement |
| Muddy/Soft Ground | Unstable, causes wobbling |
Choosing the right ground surface makes all the difference, giving you clear, crisp footage that captures every crucial moment.
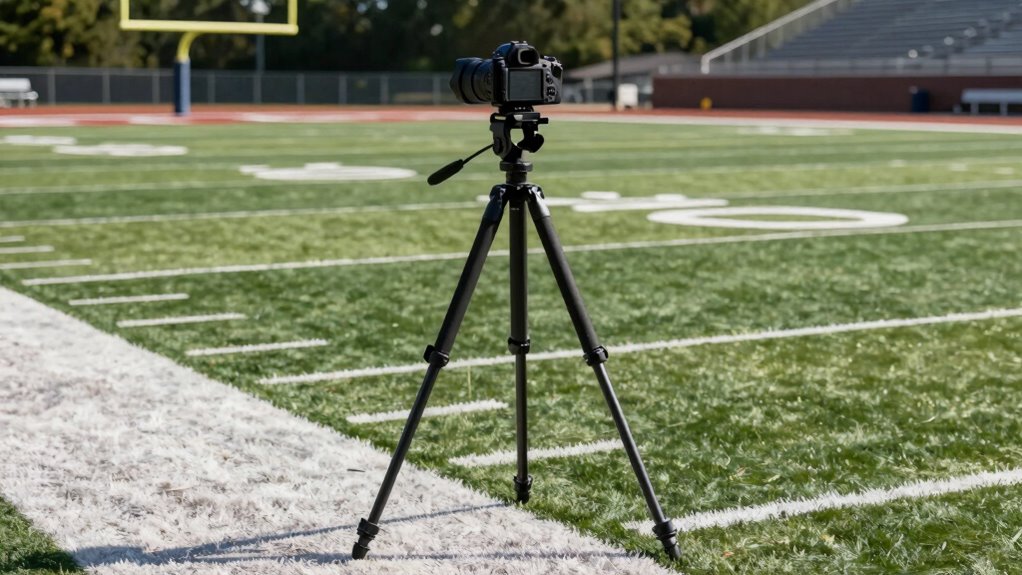
sturdy tripod for outdoor filming
As an affiliate, we earn on qualifying purchases.
As an affiliate, we earn on qualifying purchases.
How to Position Your Camera for the Best Angles and Coverage
Positioning your camera correctly is crucial for capturing the best angles and ensuring thorough coverage of the game. To do this effectively, consider these key points:
Proper camera positioning ensures clear, comprehensive game coverage and highlights key moments effectively.
- Choose angles that give a clear view of the action, avoiding obstructions and focusing on key players.
- Think about lighting considerations—position the camera where natural light or stadium lighting enhances visibility without creating glare.
- Use appropriate camera accessories, like wide-angle lenses or stabilizers, to improve coverage and stability.
Adjust your tripod to keep the camera steady, and experiment with placement until you find the ideal view. Proper positioning helps capture crisp footage, highlights game-changing moments, and makes editing easier later.
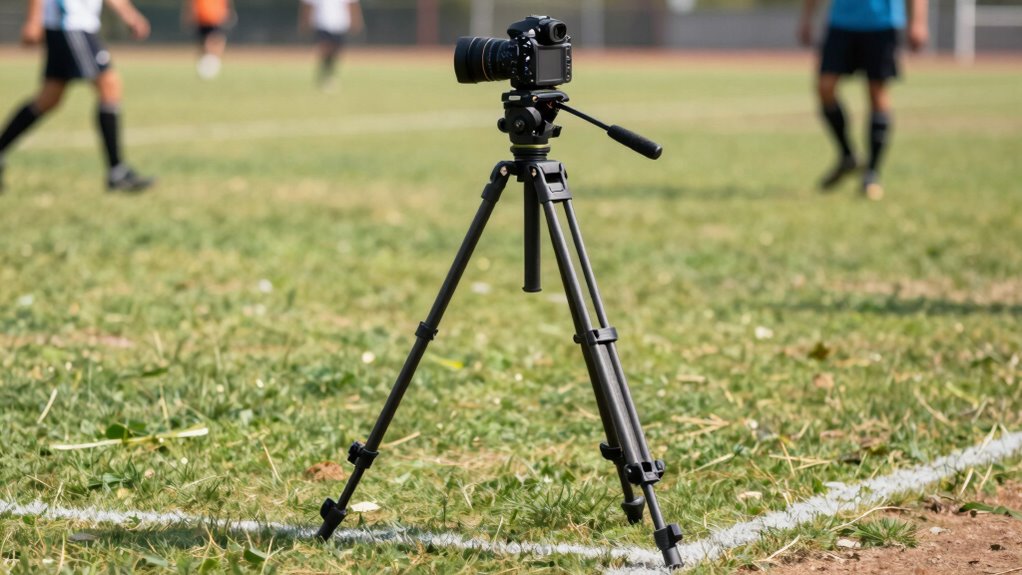
adjustable tripod for game footage
As an affiliate, we earn on qualifying purchases.
As an affiliate, we earn on qualifying purchases.
What’s the Right Height and Distance From the Action?

Ever wondered how high and close your camera should be to effectively capture the game? The right height offers good camera stability, minimizing shaky footage, while also giving you a clear view of the action. Generally, position the tripod so the lens is at or slightly above the players’ eye level, ensuring a natural perspective. Keep the distance close enough to capture details but far enough to avoid obstructing views. Equipment portability is key—choose a lightweight tripod that’s easy to move if needed. Avoid placing the camera too high, which can lose detail, or too low, which might distort the scene. Finding this balance helps produce sharp, stable footage that truly captures the game’s dynamics. Additionally, proper tripod placement can help prevent accidental bumps or shakes during critical moments.
How to Keep Your Shots Steady and Avoid Shaky Footage
To keep your shots steady and prevent shaky footage, focus on using a sturdy tripod with a solid, stable base. This provides essential camera stabilization, reducing unwanted movement. Additionally, consider your lens selection; a lightweight lens minimizes strain on the tripod and helps maintain stability. Here are three tips to enhance steadiness:
- Secure your tripod on even, level ground to prevent wobbling.
- Use a tripod with adjustable legs and a fluid head for smooth panning and tilting.
- Keep your camera close to the tripod’s center of gravity, avoiding extended arms or unsupported equipment.
- To further improve stability, consider adding anti-vibration accessories like rubber feet or weights to your tripod, especially on uneven surfaces. Incorporating natural light into your setup can also reduce the need for lengthy exposure times, which helps avoid motion blur and shaky footage.
Common Setup Mistakes to Avoid When Positioning Your Camera

One common mistake is setting up your camera at the wrong height or angle, which can lead to awkward shots or missed key plays. Poor positioning also ignores lighting considerations, causing shadows or glare that obscure details. Additionally, neglecting equipment stability can result in shaky footage, making it hard to analyze plays. To avoid these errors, consider the following:
| Mistake | Solution |
|---|---|
| Incorrect camera height/angle | Position camera at eye level or slightly above action |
| Ignoring lighting conditions | Choose spots with even, natural light |
| Unstable tripod setup | Ensure tripod is secure and on level ground |
| Overlooking key play areas | Cover the entire field or court |
| Failing to test setup beforehand | Do a quick test to check angles and stability |
How to Adjust Your Camera Setup for Different Sports and Play Styles

To get the best footage, you need to adjust your camera height and choose the right angles for each sport and play style. Higher angles work well for capturing overall action, while lower angles can highlight specific plays. Experiment with different setups to find what best showcases the game’s fastest and most important moments.
Adjust Camera Height
Adjusting your camera height is essential for capturing the best angles and details specific to each sport and play style. When you set the right height, it improves the clarity of key moments and ensures your footage is useful. To do this effectively:
- Position the tripod so the camera is at eye level for the sport, enhancing the camera tilt to capture natural perspectives.
- Keep tripod stability in mind—lowering the tripod can add stability, but too low may limit your view.
- Adjust height based on the play area; for wide fields, a higher position captures more action, while closer shots benefit from a lower setup.
Always check the camera tilt after adjusting height to avoid shaky footage, and ensure your tripod remains stable during movement.
Choose Optimal Angles
Choosing the right angles for your camera setup is vital because different sports and play styles demand varied perspectives to capture the action effectively. To do this, focus on camera stabilization to keep footage steady, especially when tracking fast-paced movement. Adjust your lens selection based on the sport—wide-angle lenses work well for field sports, while telephoto lenses excel for basketball or baseball, allowing you to zoom without losing clarity. Consider multiple angles to cover different plays and avoid missing key moments. Experiment with low and high angles to add depth and context. Properly chosen angles help highlight critical plays and player techniques, making your footage more useful for review and coaching. Keep your camera stable and select lenses suited to your sport for the best results.
Using Multiple Angles to Capture All the Action
Using multiple angles to capture all the action guarantees you don’t miss critical moments during the game. By varying your camera angles, you can get a thorough view of plays and player movements. This approach enhances your shot selection, providing different perspectives for a more dynamic film. Consider these options:
- Wide shot from behind the end zone to capture overall plays and formations.
- Side angle focused on the line of scrimmage for detailed blocking and tackles.
- Close-up from the sideline to catch facial expressions and key player reactions.
Ensuring your equipment is properly secured and protected on the sidelines helps prevent missed shots due to technical issues. Using these different camera angles ensures you record every critical detail, giving coaches and players valuable insights. Proper shot selection from multiple perspectives results in a richer, more informative game film. Incorporating camera stabilization techniques can further improve the quality of your footage. Additionally, understanding camera positioning best practices can help you optimize your coverage and capture the most important moments more effectively. Being aware of equipment setup is essential to maintain consistent footage quality throughout the game. A pre-game setup check can help identify potential issues before the action begins.
Final Checklist: Setting Up Your Tripod for Perfect Game Footage
With multiple camera angles in place, ensuring each tripod is properly set up is key to capturing smooth, stable footage. Start by securing your camera accessories, like quick-release plates and mounts, to make adjustments easier. Double-check that each tripod is level and at the right height to get ideal framing. Consider lighting considerations—position your tripods where natural light minimizes shadows and glare, or add portable lighting if needed. Tighten all tripod legs and fasten your camera securely to prevent movement during action. Test the shot by gently panning and tilting to confirm stability. A final quick review of your camera accessories and lighting setup ensures you’re ready to record clear, professional-quality game footage.
Frequently Asked Questions
How Do Weather Conditions Affect Tripod Placement?
Weather impact, especially wind, greatly affects tripod placement. You should secure your tripod on stable ground and avoid exposed areas, as wind can shake your camera and ruin footage. Use weights or stakes if needed to enhance wind stability. Protect your equipment from rain or snow by covering it with weatherproof gear. Always check the forecast and choose a sheltered spot to guarantee your shots stay steady and clear.
What Equipment Accessories Improve Camera Stability?
You can boost your camera stability with accessories like heavier tripod weights and sturdy camera mounts. While lightweight setups are easy to carry, they often wobble, especially in windy conditions. On the other hand, adding weights or upgrading to robust mounts anchors your camera, reducing shake. This balance between portability and stability guarantees your game film stays crisp and professional, no matter the weather or terrain.
How Can I Prevent Interference From Spectators?
To prevent spectator interference, you should position your tripod in a strategic spot away from the crowd, ideally behind or to the side of the main action. Keep your tripod steady and maintain clear sightlines, avoiding areas with high foot traffic. By carefully choosing your tripod positioning, you reduce the chances of spectators accidentally bumping or obstructing your camera, ensuring your game film remains clear and useful.
Are There Legal or Safety Considerations for Tripod Placement?
You need to take into account safety zones and local regulations when placing your tripod, as legal issues and safety risks lurk in overlooked spots. Your tripod permits should be used within designated areas to avoid interfering with players or officials. Failing to do so could lead to accidents or disqualifications. Always check for specific venue rules and make sure your setup doesn’t compromise safety, because overlooking these details could have serious consequences.
How Do I Maintain Consistent Footage Over Multiple Games?
To maintain consistent footage over multiple games, set your tripod at the same height and angle each time. Use markers or tape on the tripod legs to guarantee the height stays steady, and mark your camera angle with tape or a reference point. This way, your footage remains uniform, making it easier to analyze performance and compare plays across different games. Consistency is key for effective game film.
Conclusion
Remember, proper tripod placement can make or break your game footage. Did you know that cameras placed too close or too high can reduce footage clarity by up to 30%? By following these tips and avoiding common mistakes, you’ll capture clearer, more professional-looking highlights. So, take the time to set up your tripod correctly—you’ll be amazed at how much better your game film becomes, helping you analyze and improve your performance.